
In abcommerce, you can send personalised emails at a specific target audience based on their previous order history - or previous browsing history where they added items to their basket.
You can also target emails based on customer's birthdays, and also customer's preferences.
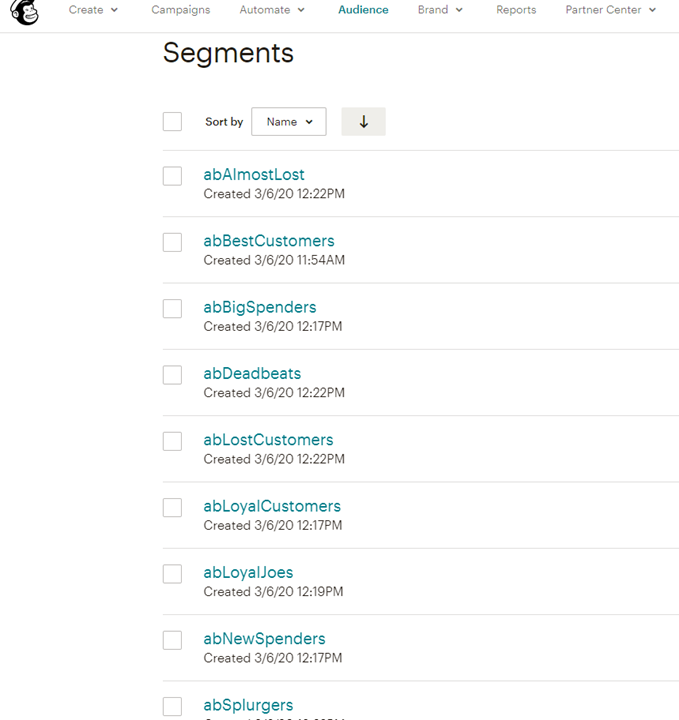
Using Segments
The easiest way to send targeted emails in Mail Chimp is to use SEGMENTS under the ABC_WebsiteSubscribers audience. You can create your own or use the automatically created segments - or create a copy of the sample segments that have been automatically set up.
Here are some SEGMENTS that abcommerce will automatically set up for you (more details under the RFM article in this section):
Creating your own Segments using TAGS
You will also see thousands of tags in Mail Chimp which you use to build up dynamic Segments. You should create segments of email addresses by grouping tags into segments so that you can send personalised targeted emails to specific groups of emails. The TAGS record the following for each customer:
| PROD:Code | All products using the product code that was purchased by this email address or added to the basket by this email address |
| BRAND:Brand TItle | All brands purchased from by this email address (or added to basket) |
| CAT:CategoryTitle /CategoryParentTitles | All categories purchased from by this email address (or added to basket) |
| STATE:County/State Title | All counties/states purchased for by this email address (or added to basket) |
| COUNTRY:Country Title | All countries purchased for by this email address (or added to basket) |
Using Birthdates
You can turn on the ability to capture your customer's birthday, and then you can use this powerful information to send them a voucher the week before their birthday.
Click here for an article on how to turn on capturing birthdays
You can use the following fields:
| abBirthday | The month and day of their birthday - i.e. the date of their birthday |
| abDateOfBirth | This abBirthDay above but with the year also - i.e. the date they were born |
Using Order History Fields in Segments
You can also use order history fields when creating segments. In MailChimp, under your subscriber list called ABC_WebsiteSubscribers, click on Toggle Columns and you should see the following optional extra fields recorded for each email address you have. Tick all these options and click Save - and you can then view this extra information in your emails (e.g. Dear [FNAME]) and also send emails using these fields to segment your list (e.g. send to all customers who have ordered more than 3 times from us).

You can use the following fields:
| First Name | The customer's first name |
| Last Name | The customer's last name |
| Address |
Currently not populated |
| Phone Number |
This is the mobile number if the customer has opted in for mobile as well - if the customer opts out of mobile, this will then be reset to blank within 48 hours by the nightly batch job |
| abNumOrders | The total number of orders made by this email address |
| abLastOrderDate | The date of the last order for this email address |
| abTotalRev | The total revenue generated from this email address |
| abAvgOrderValue | The average order value from this email address |
| abState |
The last county. province or state (for Ireland, Canada and USA) that was ordered for this email address (or added to basket) You can view all counties purchased (or added to basket) for this email address under TAGS (more details below) |
| abCountry |
The last country that was ordered for this email address (or added to basket) You can view all countries purchased (or added to basket) for this email address under TAGS (more details below) |
| abCompany |
For B2B websites, this is the name of the company |
| abLastSyncDate |
The date that this record was last synced with the website |
Integrating Customer Preferences with Mail Chimp's Interest Groups
If you have turned on customer preferences, the preferences will automatically be mapped to a list of Groups under abPreferences in Mail Chimp. You will see the list of preferences set up on your website in Mail Chimp under abPreferences and they will be automatically checked for each email address that has selected those groups when setting their preferences through the website.
Click here for more information on setting up customer preferences
Excluding Emails from Your Loyalty Platform
If your website is integrated with your Loyalty Platform, you may want to send emails on your Loyalty Platform from your Loyalty Platform only and exclude them from your Mail Chimp email campaigns.
Click here for articles on integration with a Loyalty Platform
You can use the following fields:
| abLoyalty | If this is "1", the email address has also opted in for emails on your Loyalty Platform |
Mail Chimp Add-ons
Mail Chimp has lots of useful add-ons that you can ad onto your account. For example, you can add a social media add-on which will add further filter options like age and gender for you to target.
Comments
0 comments
Please sign in to leave a comment.