
When a user creates a new order, they will be automatically sent an email. And there are also other emails that are sent after the order is made.
The following are the full list of automatic emails that are sent to the customer when an order is made:
- New Order - for Collection
- New Order - for Delivery
- New Order - Submitted for Audit Approval (for the Pharmacy Module)
- New Order - Submitted for Manager Approval (for B2B when customers can submit an order to their manager to approve)
- New Order - for Subscriptions (for when a customer orders a subscription where they will receive regular orders over a period of time)
The following are the full list of automatic emails that are sent to the customer after an order is made:
- Order Dispatched
- Order Ready for Collection
- Order Cancelled (not turned on by default)
- Order Completed (not turned on by default as it is not used by most websites)
You can edit or turn these off at any time by following these steps:
- Log on as web admin and click on Marketing - Emails and click on the relevant email you want to edit
- In the resulting screen, you will see the current automated email - you can click on EDIT CONTENT to edit the content of the email:
- In the left sidebar, you can edit these:
-
TEST EMAIL SETTINGS: Before you can click Save to any changes, you must send a test email to yourself (or else your changes could break the website without you knowing) - to do this, just enter the following fields and then you can click Send Test Email at any time to preview your changes through your email account before clicking Save:
- Test Email To Address: Enter your email address here
- Test Email Sign-off: You cant click Save until you check this button to say that you have received a test email and you are happy to sign off on this
- Email Subject: This is the title of the email that will be sent.
-
From Email: This is the email address that the email will be sent from.
- NOTE: This email address must be validated or else the email will not send.
- From Email Name: If you want the FROM address to display something other than the email address, enter it here.
- From CC Email: This is the email address that will be CC'ed on all emails. If you want to have more than 1 address, just separate them with commas.
- From BCC Email: This is the email address that will be BCC'ed on all emails. If you want to have more than 1 address, just separate them with commas.
- Title: This appears at the top of the email.
- MAKE ACTIVE: Check this to turn it on (and also you can uncheck to turn it off) - the email is turned on by default.
- Promotion Code: If you want to give the user a promo code within the email, enter it here (ensure that it is working first) - we recommend using Single Use Promo Codes so that they can only use the promo code once so you just need to enter here the Promo Code Reference for the Single Use Promo Code - click here for more details
- Promotion Code Intro: This text appears before the promo code in the email content.
-
TEST EMAIL SETTINGS: Before you can click Save to any changes, you must send a test email to yourself (or else your changes could break the website without you knowing) - to do this, just enter the following fields and then you can click Send Test Email at any time to preview your changes through your email account before clicking Save:
- You can also click in the blue boxes in the main page to make edits to the content displayed.
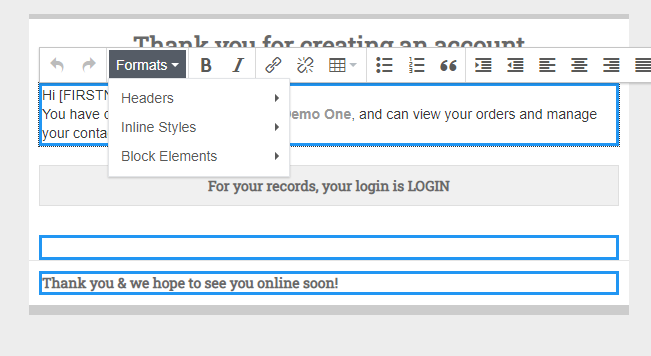
- NOTE that you should put in the text [FIRSTNAME] where you want the user's first name to go.
- NOTE that you should use the HEADERS list under the FORMATS dropdown in the screen below to format the content.
- Click Preview to preview your changes, click Send Test Email to preview your changes through your email account + if you are happy with them, click Save
- The changes will update when the cache is cleared - if you want them to happen immediately, just clear the cache.
- In the left sidebar, you can edit these:
Comments
0 comments
Please sign in to leave a comment.